Gamecube internal battery replacement

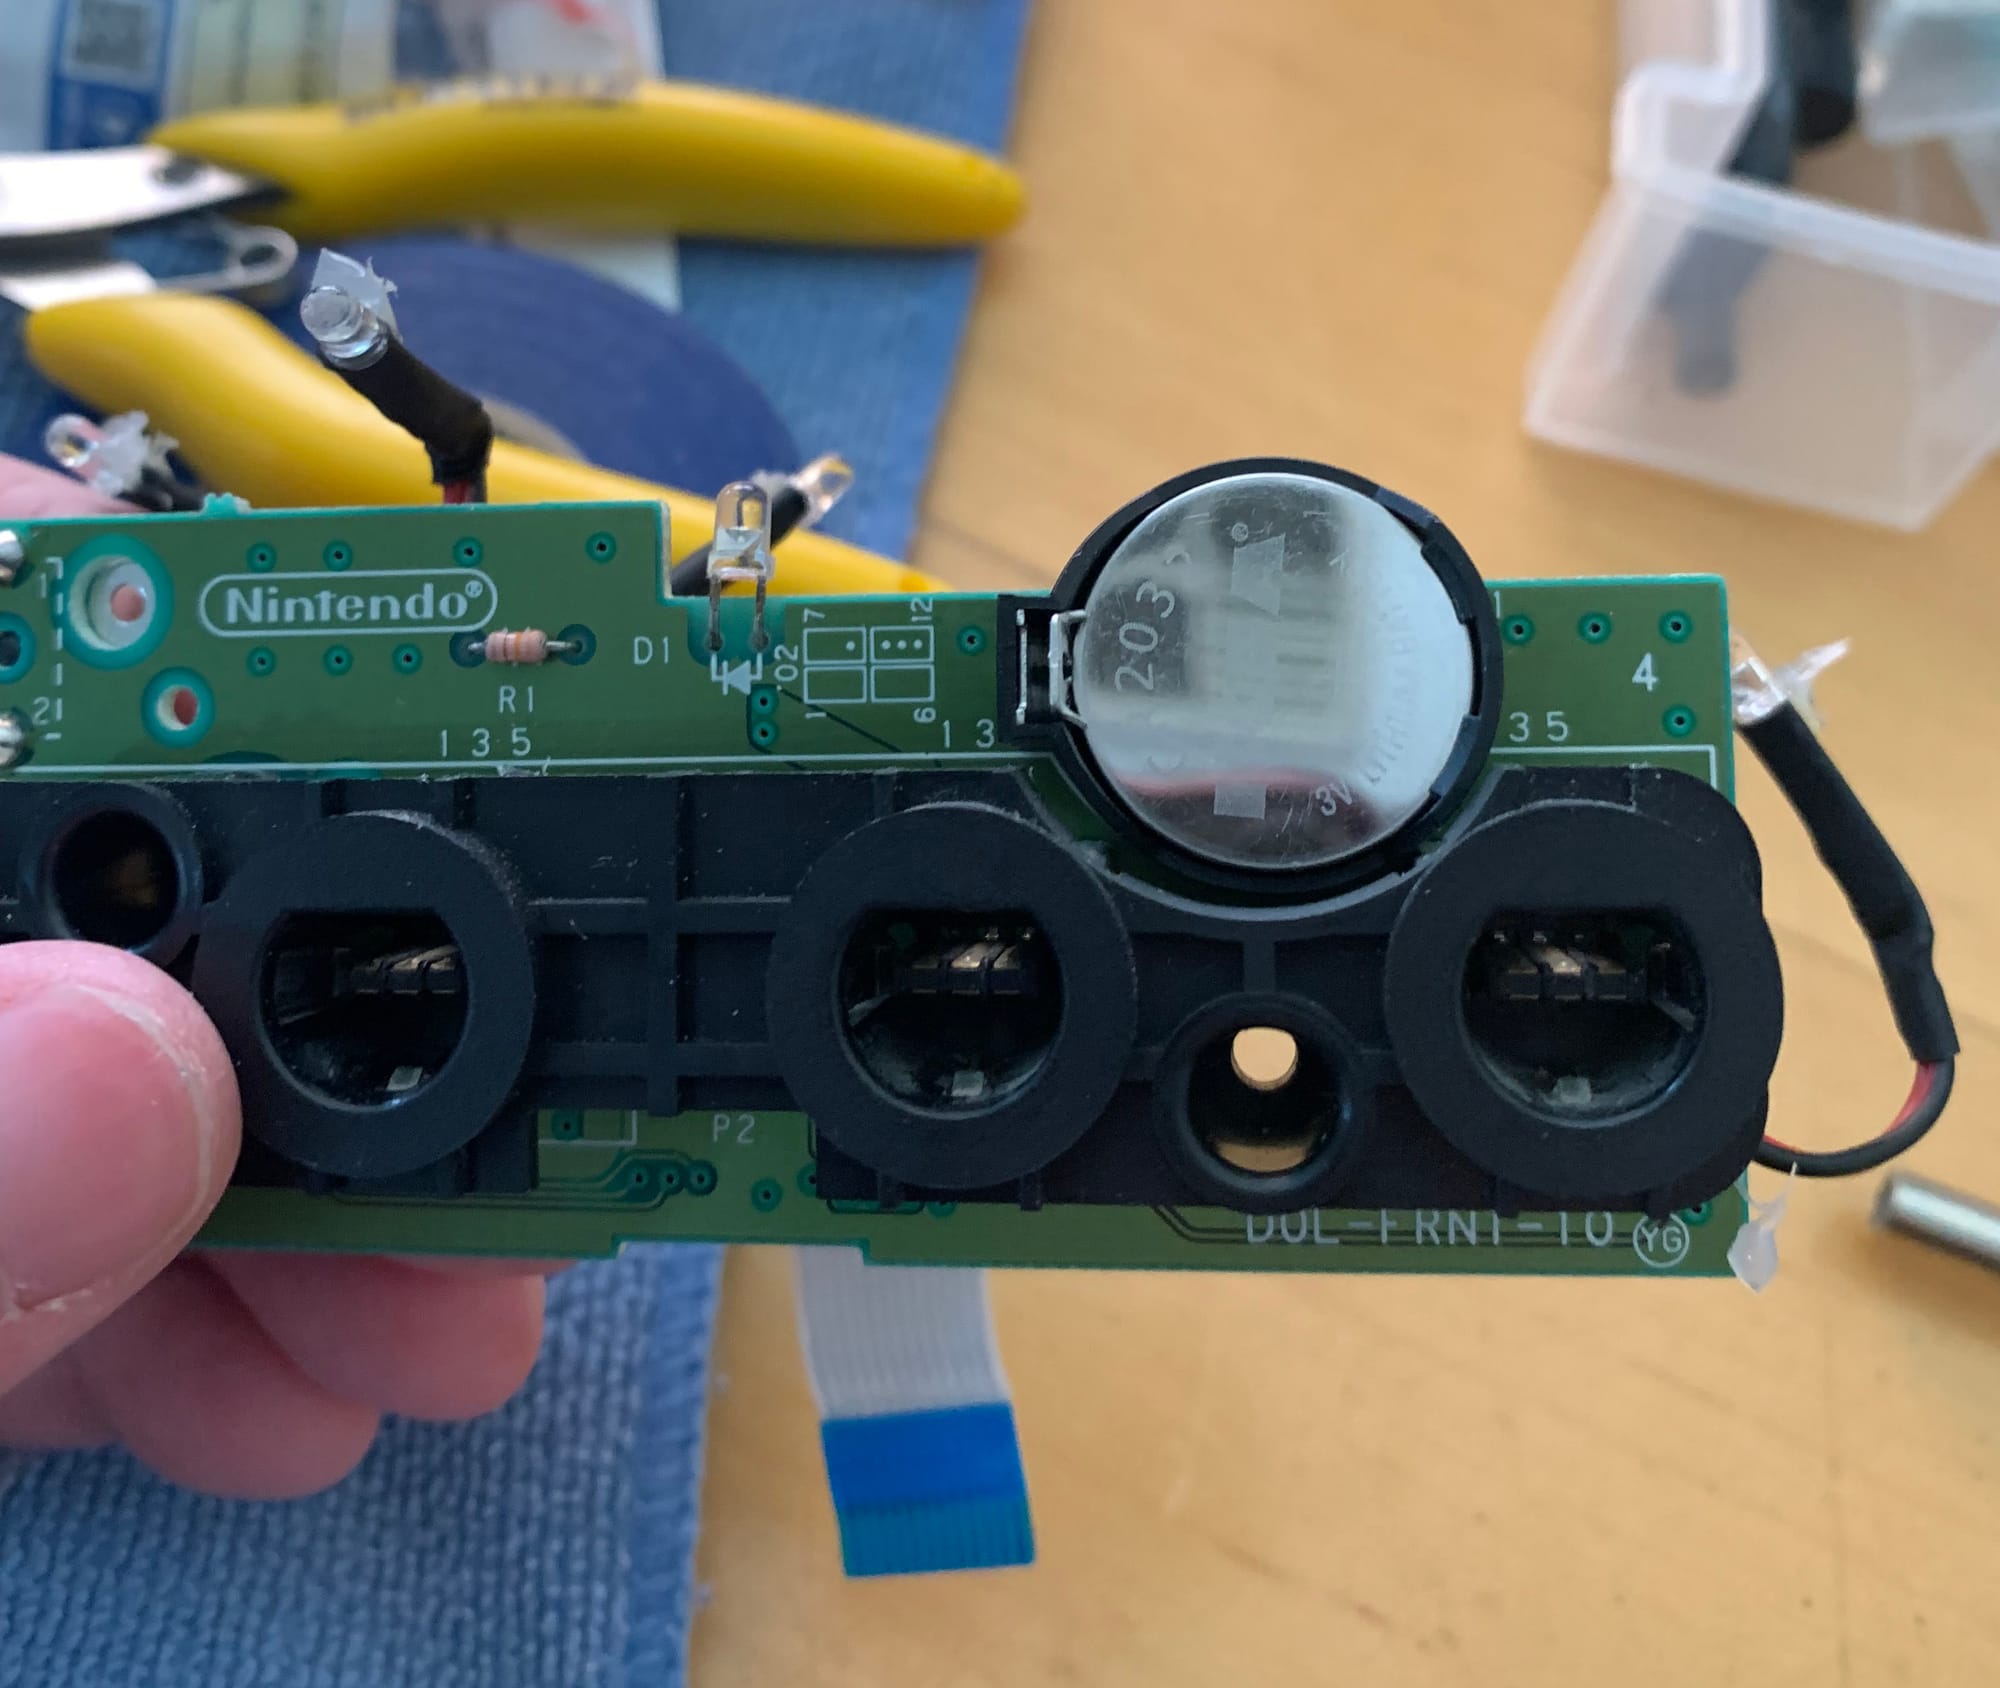
If your Gamecube is as old as mine then chances are you'll encounter a familiar screen when turning it on. That's because inside, it relies on a CR2032 battery to manage its clock and keep track of time and date.
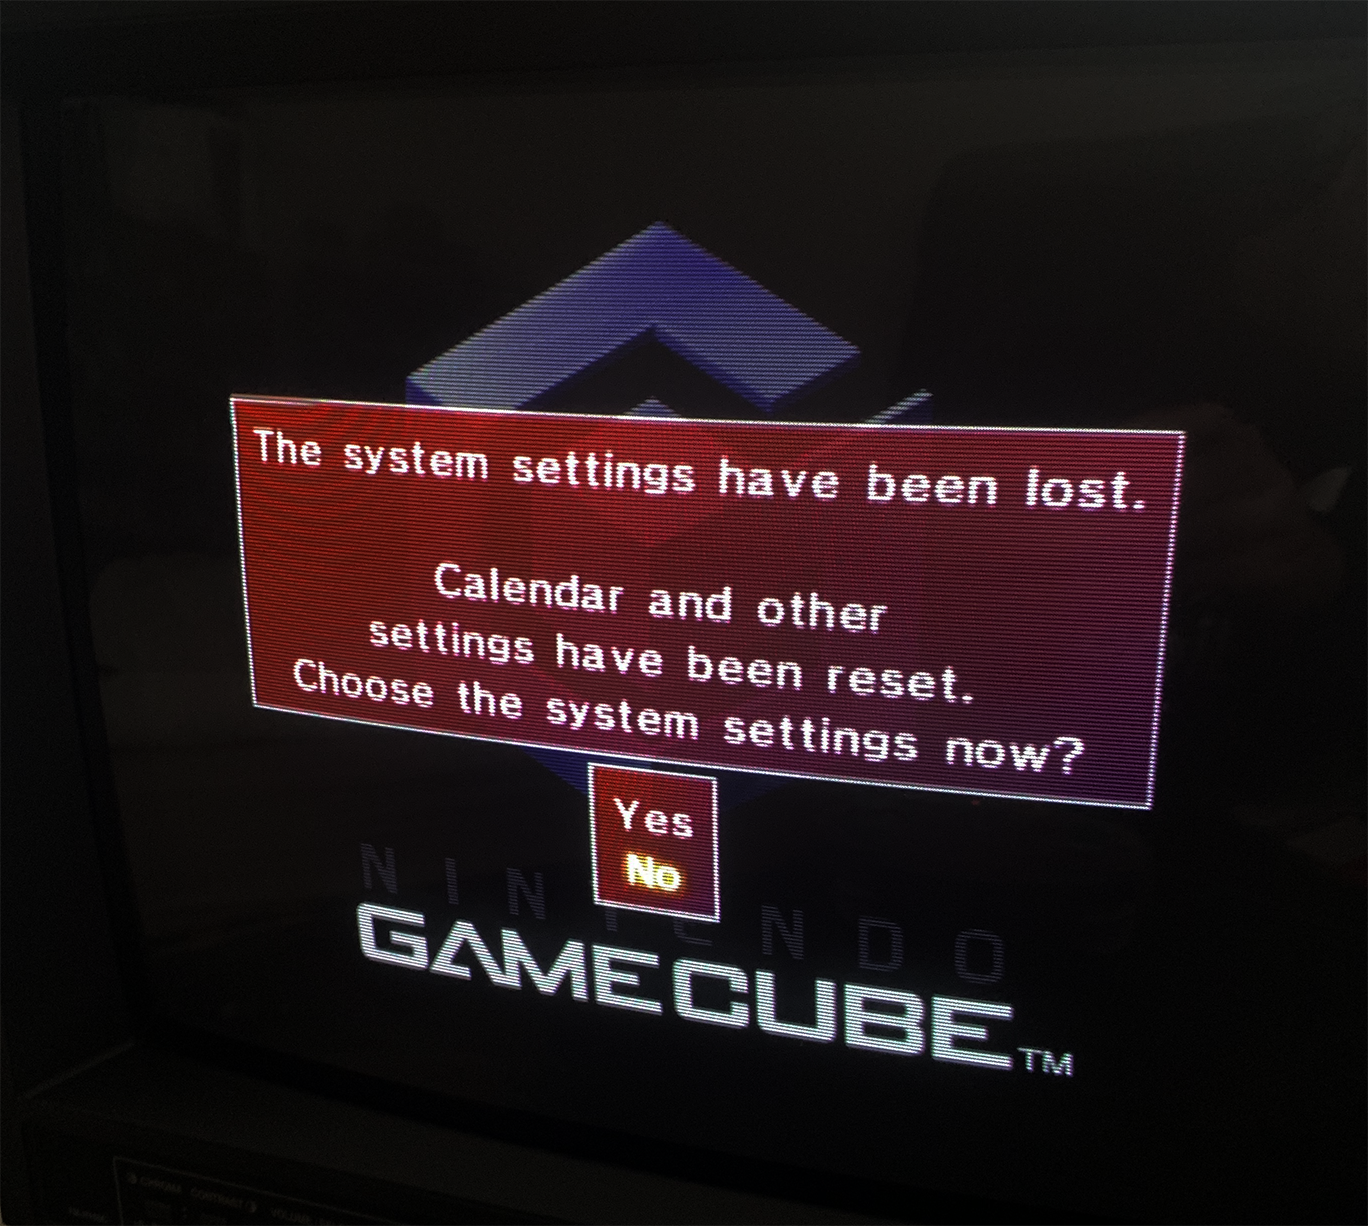
While this doesn't affect your gameplay or saved games, it can be a annoying having to navigate through menus each time. If you're using an optical drive emulator like the GCLoader, instead of booting directly into Swiss, you'll find yourself at the main Gamecube menu, requiring an extra step to select Swiss manually. This was rather annoying and the reason why I wanted to replace it
Let me emphasize that what follows isn't a step-by-step guide, but rather my personal account of replacing the battery. For technical details, I recommend consulting the ConsoleMods wiki.
One option is to swap out the existing CR2032 battery with another tabbed one, these are readily available and can be purchased in bulk This is particularly convenient if you're also tackling Gameboy battery saves. However, I opted for a CR2032 socket instead, for easier future replacements.
This modification requires some soldering skills, but I'd classify it as beginner-friendly. Take your time and avoid forcing out the old battery until it's fully loosened. I found it most effective to add solder to the existing joints, then use solder wick to remove it. Once one leg is free, repeat the process for the other leg, gently removing the battery while it's heated. If you have a de-solder gun, this task becomes considerably simpler. Ignore the wires in my photo below; those were remnants of a previous LED mod, which I later removed.

Once the original battery has been removed, insert your battery holder and ensure the positives/negatives ends line up correctly. Per the ConsoleMods wiki: positive side must go toward LED or console will not boot
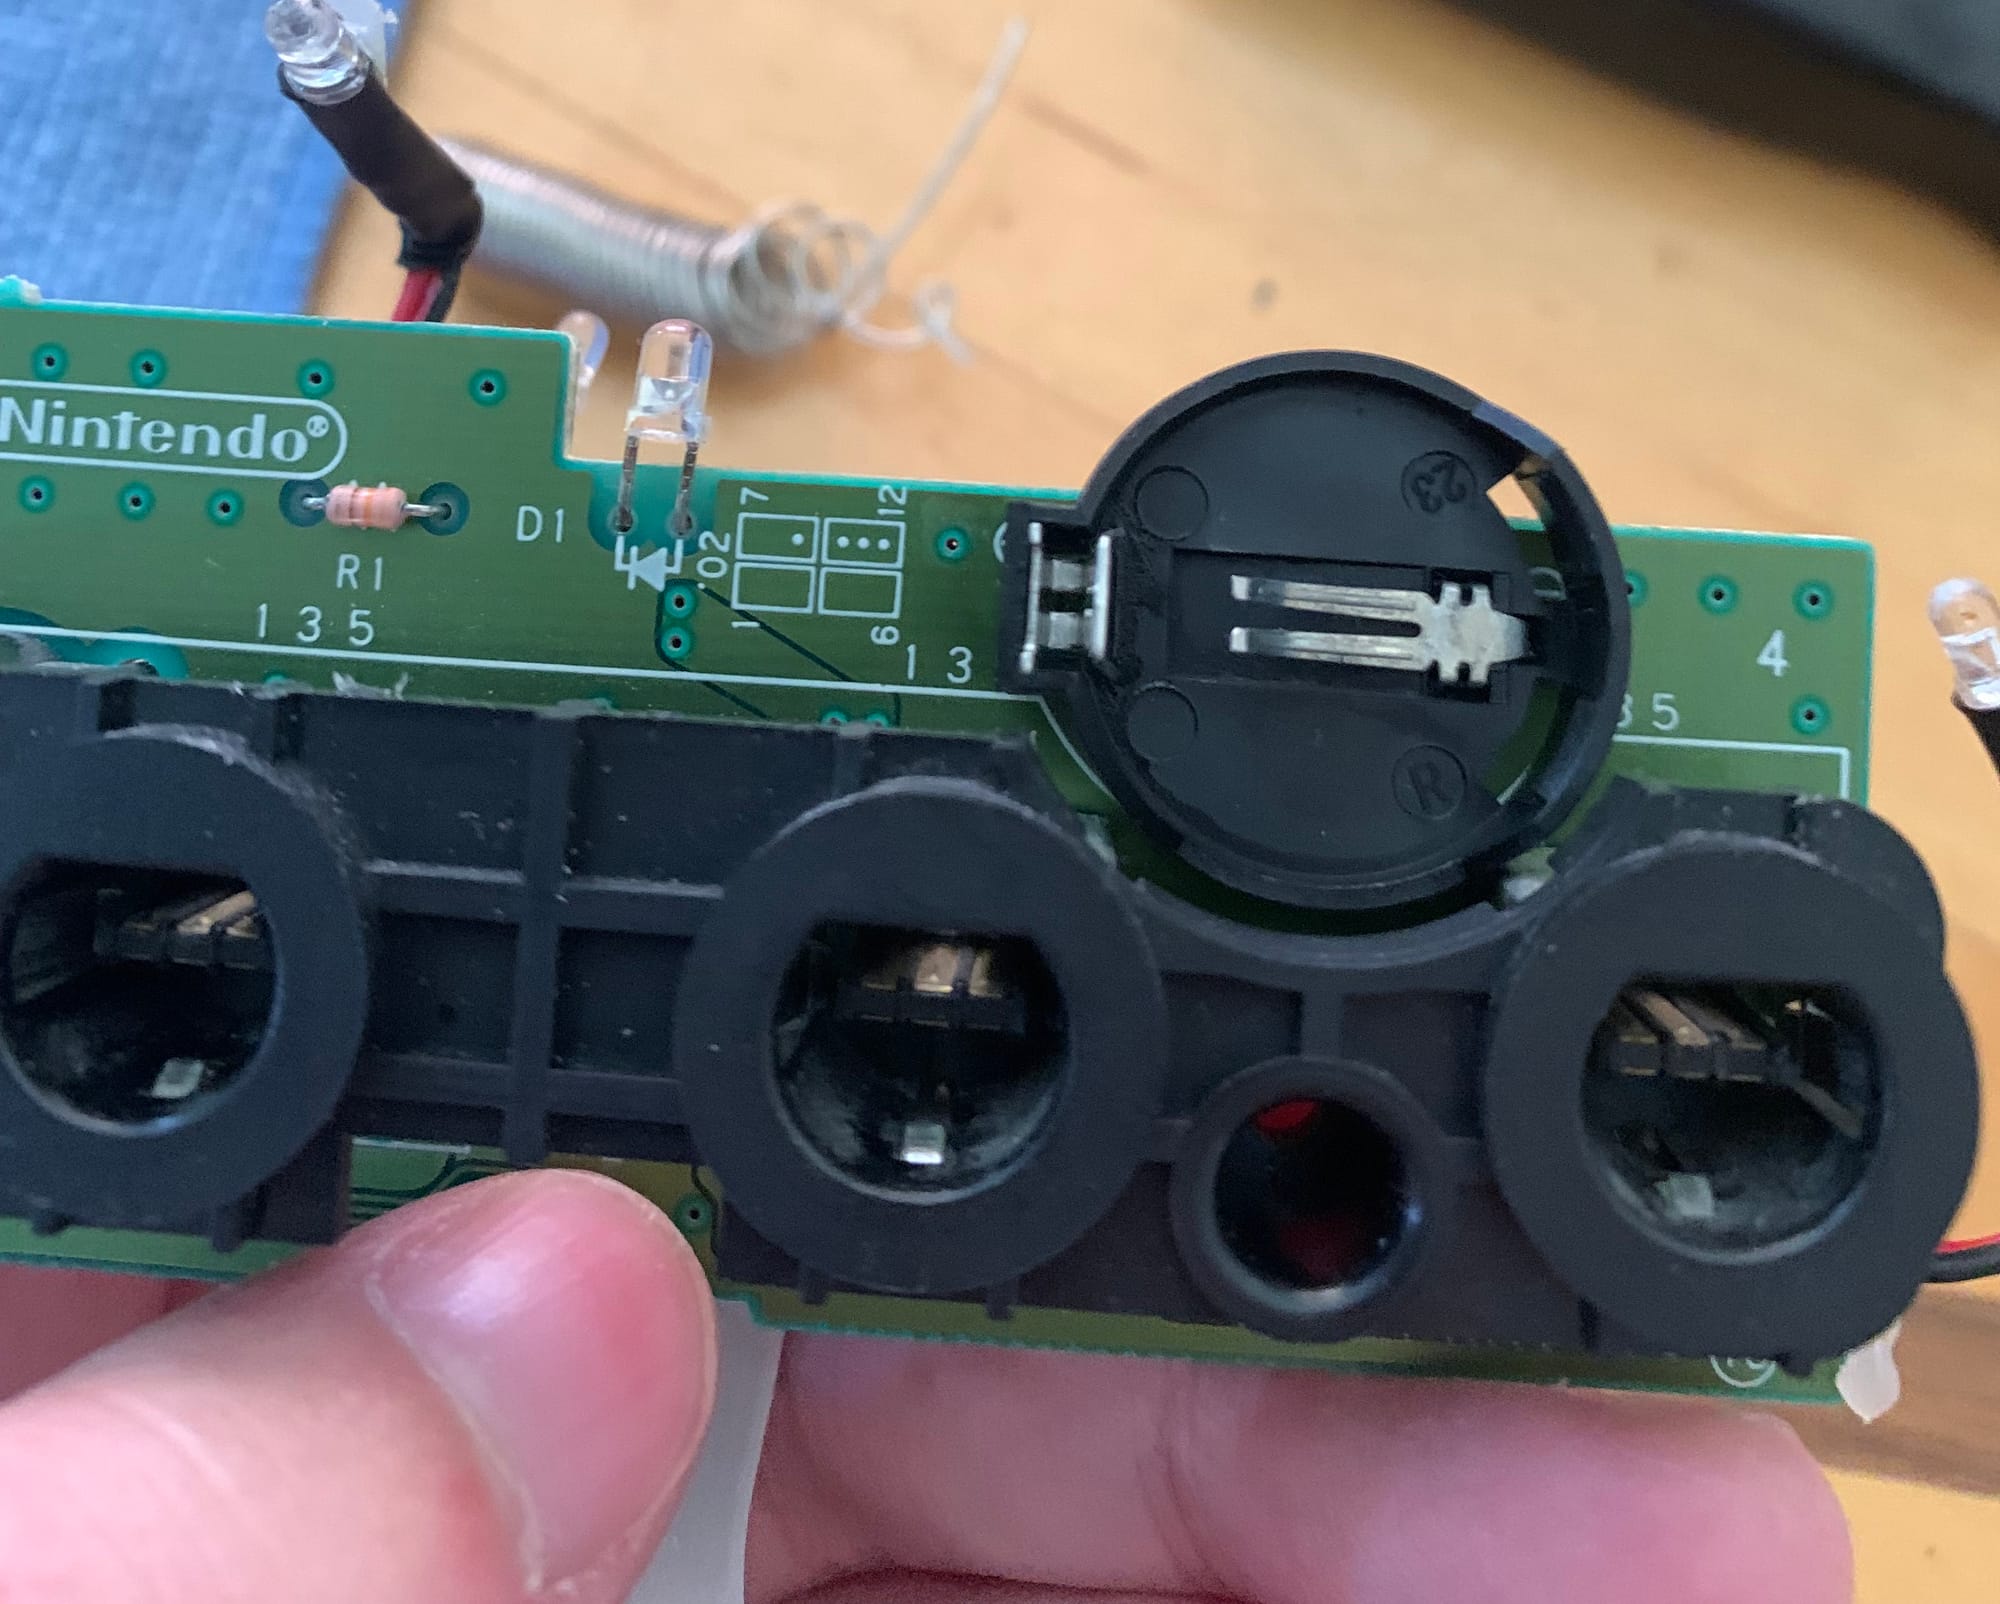
After removing the original battery, insert your battery holder, ensuring the positive and negative ends align correctly. As per the ConsoleMods wiki, the positive side must face the LED, or else the console won't boot. Once installed, reassemble your Gamecube following the same steps as disassembly. Set the date and time, then power off and unplug the console for 10 seconds. Power it back on, and if the date and time remain saved, congratulations! You've successfully replaced your internal battery.