A Dream has been casted - openMenu open source replacement menu software for GDEmu

I've been meaning to check out openMenu by mrneo240 for a while, and I finally got around to it.
It's an open-source replacement menu designed for the GDEmu on the Sega Dreamcast, replacing the outdated GDMenu software. While I've been content using the old GDEmu software without any problems, it's been abandoned for quite some time now, lacking any updates.
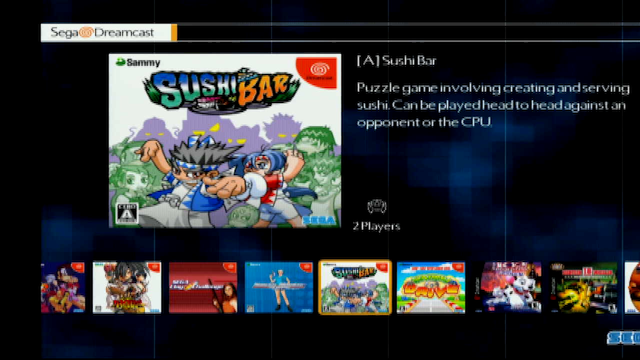
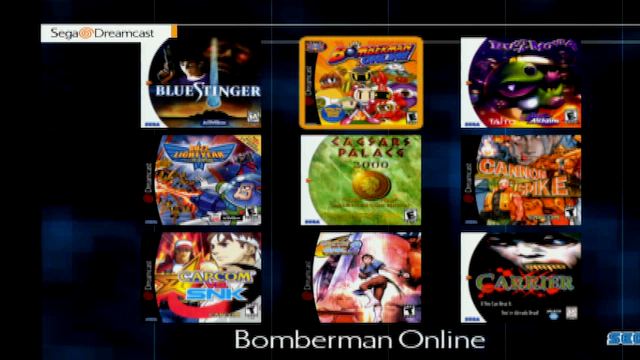
What caught my attention about openMenu was its theme support and the inclusion of game covers, similar to the features found in the more expensive Terraonion MODE ODE.
Now the instruction on how to get this setup is all over the place so I thought I'd document this in case anyone was confused like me as searching up "open menu dreamcast" will bring you up different tutorials which dates back to 2021 which by now is outdated.

Pre-setup - Formatting your SD card
If you're using an SD card bigger than 32GB, you'll need to format it to FAT32 as this is the only format the GDEmu can use.
For Windows users, you can use a tool named GUIformat for this purpose.

Step 1 - Download the latest version of GDMENU Card Manager
Initially, I hit a snag when the top search results directed me to an earlier version, which required some manual tweaks to get it setup. To avoid this, download the latest BETA version developed by sonik-br and extract it. For Windows users, ensure you also install the latest .Net 6 Desktop Runtime when prompted. Once downloaded, extract the files to any location on your computer.
Step 2 - Add the latest asset packs
Head to openMenu_imagedb and openMenu_metadb to download the most recent metadata, box art, and logo files.
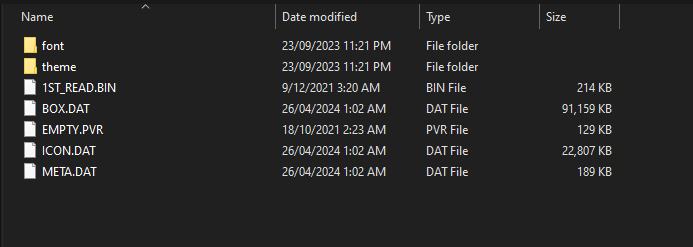
Extract these files to the 'tools/openMenu/menu_data' folder where you previously saved GDMENU Card Manager. Your menu_data folder should resemble the following:
Step 3 - Loading games
Launch GDMENUCardManager.exe to begin loading your games.
Setting up a brand new SD card
For those setting up a fresh SD card, I recommend checking the TOSEC dumps, which provide a full collection compatible with ODE devices. I found it quicker to torrent the entire set and then selectively choosing desired games rather than downloading them one by one off Archive.org server.
Sega Dreamcast - Games - US (TOSEC-v2022-12-28) - Archive.org link
Sega Dreamcast - Games - PAL (TOSEC-v2022-06-15) - Archive.org link
Sega Dreamcast - Games - JP (TOSEC-v2022-12-20) - Archive.org link
Setting up using pre-existing games on your SD card
If loading your existing SD card you may notice some titles are appearing as blank, so you'll need to use the rename feature to show the correct titles.
Highlight all the games you wish to rename and right click then go to Automatically Rename and choose Using IP.BIN info.
I like my games alphabetized and not in caps so I also chose Sentence Case to format them correctly.
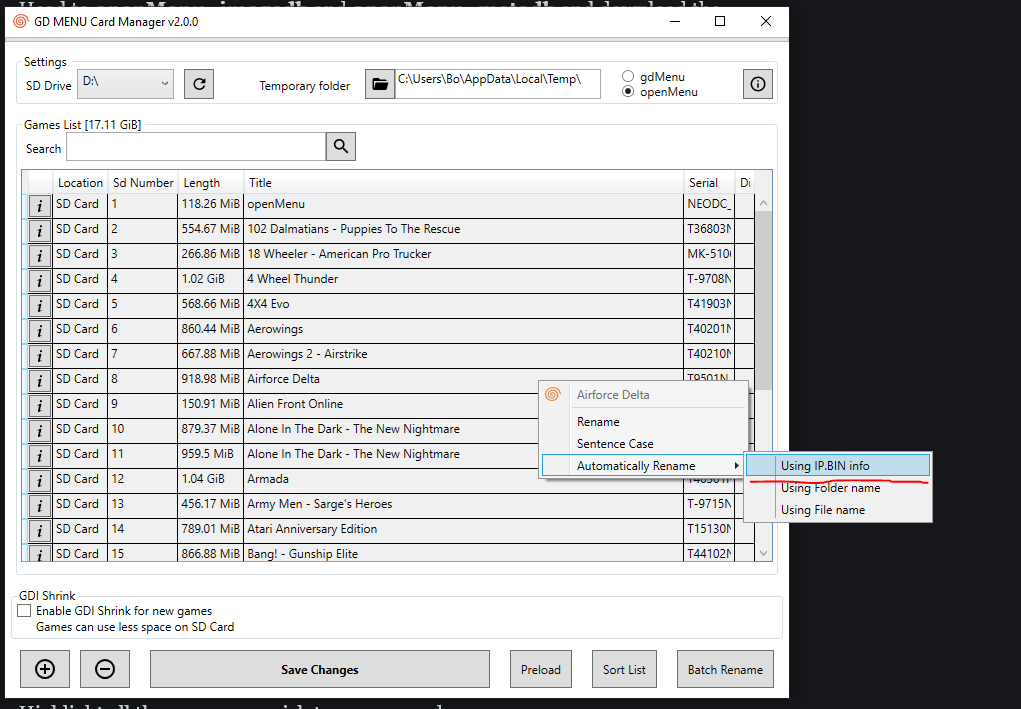
I'd recommend you also tick the GDI Shrink option as well, many Dreamcast games are padded to 1.1GB and this can fill up your SD card real fast.
When you're ready click Save Changes and the software will begin shrinking your GDI images and start copying them to your SD Card with the correct directory structure, I copied the entire NTSC-U romset which took about 8 hours or so.
I did run into two games which weren't able to be shrunk and would freeze the GD Menu Card Manager software, they were Q-bert v1.003 (2000)(Majesco)(US)[!] and Conflict Zone - Modern War Strategy v1.002 (2001)(Ubi Soft)(US)[!] so I had to copy them over manually.
Once done, safely eject your SD card and pop it in your Dreamcast.
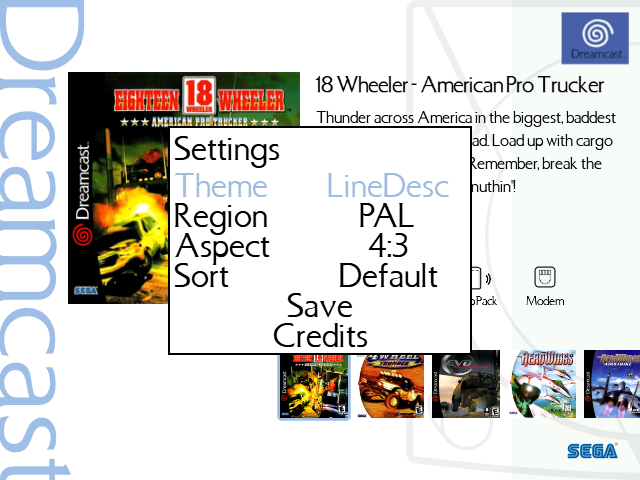
Menu Settings
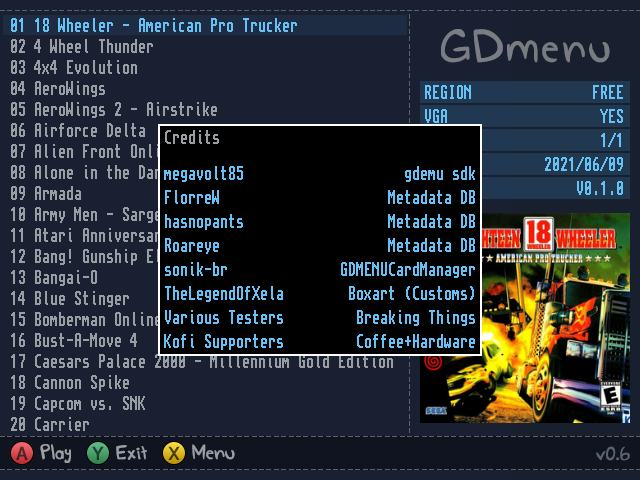
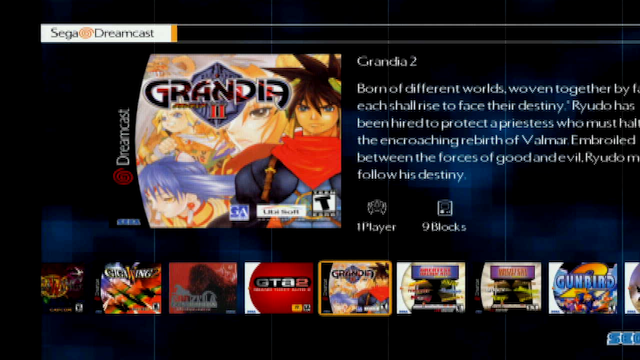
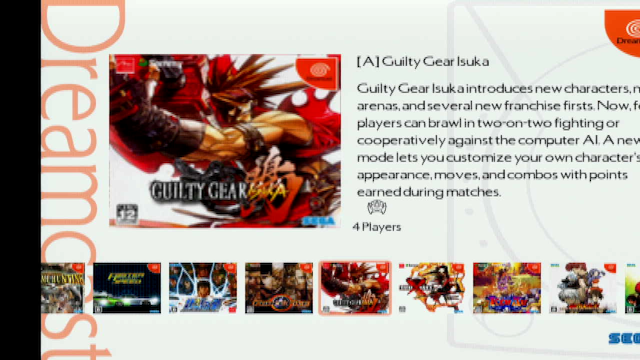
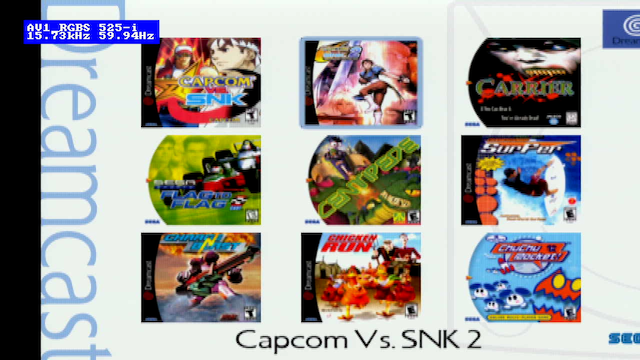
You will be greeted with a fresh new menu, press Start to access the menu, from here you can change the theme, layout and enable widescreen for the menu.